
Camera 101 – What Lens to Get?
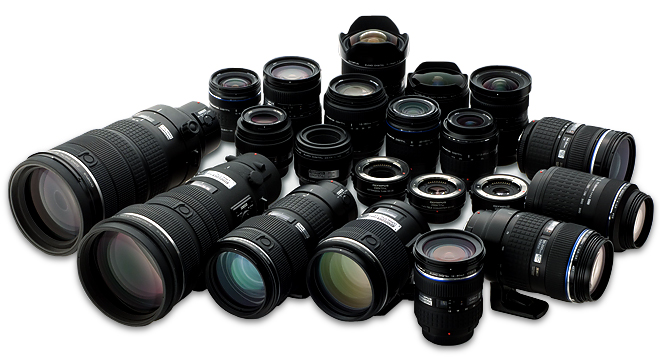
Image taken from: Teluglobe.com
If you thought choosing a camera was difficult, try lenses! Lenses are manufactured by the camera manufacturers or 3rd party manufacturers. When buying a lens, you always have to consider what it is that you are going to be shooting. Low light or plenty of light? Moving or still? What is the distance? Do you want to separate your subject from your background? These are just some of the questions that you need to ask yourself before buying your lens. Also, since you’re just getting started with DSLR photography, make sure that you stay away from using “Auto”. Use “P” mode instead, this is auto with smart features of your DSLR. I will talk about the modes on the next post.
What are you shooting?
People, Landscapes, Wildlife, Airplanes, flowers, etc. are just a few that I could think of, but there are plenty of other things to shoot. You might say “I want something that I can use for everything”. Okay, most likely, you purchased a camera with a lens kit and most kit comes with 18mm-55mm depending on which kit you bought. 18mm-55mm is a nice range when you’re starting and after shooting with that range for a while, you’ll start to want something and it is something that is missing from what you currently have. You might say “I like my shots, however they are not wide enough” or “I don’t have enough reach to get a close-up shot”.
Okay, if you’re looking for something wider, consider buying something lower than 18mm, the lower the number, the wider it gets.
If you want to get a closer/tighter shots, then consider buying a zoom lens that’s anything more than 55mm. Usually, it goes from 55mm-200mm or 70mm-300mm, depending on the manufacturer and the aperture (I will talk about this later).
These should get you started on what it is that you need.
Lighting Condition?
All of your shots depends on lighting. Avoid harsh shadows as much as possible such as direct sunlight or harsh lights produced by spot lights (unless you are going for that look). When shooting under direct sunlight, your images will have dark shadows. If you’re shooting a person, they will have “raccoon eyes” and the picture just won’t look good. There are ways to fill in those shadows and make your pictures look nicer if you really have to shoot under direct sunlight but I’ll talk about that some other time. I will focus on just the basics.
Plenty of light available
If you are shooting with plenty of available light, the type of lens you use doesn’t really matter (I know many of you will disagree with me but think like an amateur). With plenty of available light, your shots will most likely come out clear and crisp. However, low light condition is where the features of your camera will come into play. Your camera, your lens, your angles and everything else will come into play under this condition.
Low Light Condition
Under low light condition, your camera will try to adjust to get the best exposure and best shutter speed to get a clear and crisp shot. However, your camera is not perfect! You are still in control! There are a lot of things you can do to try to get your camera to take sharp pictures but that means that I have to get into technical terms. I want to answer your questions as simple as possible. So let’s try this, here are a few scenarios and what you can do to improve your shots.
You’re shooting in “P” mode and your picture is nicely exposed but it’s blurry (Let’s say you’re taking a picture of a person). What do you do?
– First, look at your screen and preview the picture that you just took, then click on the info button. This will provide you the aperture, ISO, Shutter speed, Exposure,etc.Look at ISO, aperture, and shutter speed. Make a note of those and switch your mode from “P” to “M”. Some cameras automatically adjust the ISO but it needs to be enabled. Let’s say your camera doesn’t automatically adjust. What you need to do is increase your ISO and shutter speed and also adjust your aperture.
ISO – controls the camera’s sensitivity to light
Shutter speed – Freezes or blurs the picture
Aperture – Controls the amount of light
Now that you have some idea on what each feature does, let’s try to tackle the problem. Let’s say you looked at your image and the settings are: ISO: 200, Shutter Speed: 1/30s, Aperture: f/5.6. What this means is that you took the image at 200 ISO using 1/30 of a second and at aperture f/5.6 (f/5.6 on a kit lens usually means that you shot your pic at 55mm). Let’s do this step by step, but let’s start with the shutter speed:
– The rule of thumb is your shutter speed should be greater than or equal to your focal length. For example, if you’re shooting at 55mm, your shutter speed should be at least 1/55th of a second or higher to get a clear shot. So switch to manual mode and adjust your shutter speed to 1/50th and take another picture. Is the picture now sharper but it also became darker? The reason for that is because your camera didn’t allow enough time for the light to properly expose the picture. So let’s try another fix.
Let’s do this by now adjusting your aperture. Since you are using a variable aperture (meaning, your aperture changes every time you change the zoom length), try using the lowest/largest aperture your lens allow. In this case, your lens probably only allows as low as f/3.5, so you have to change your focal length to 18mm. So now you’re shooting at 18mm at f/3.5
Take another picture, your picture should now be a lot clearer and a little brighter but still not as bright as how you would want it to be. Try changing that shutter speed, you can go as low as 1/20th without being blurry. If that’s still dark, try increasing your ISO. If your camera allows you to increase your ISO by 50, try ISO 250, 300, 400, etc. Then keep increasing it until you get your picture to come out the way you want it. Please note that the higher the ISO, the more noise it introduces (your shots will be grainy)
That’s it for now and I hope you learned something new. I will have a dedicated Camera 101 page will links to different sites that talks about everything that I just mentioned.
Click on the links below to view 5 episodes about lenses on D-Town TV by Kelby Media Group:
Recent Comments